

Red Sands Fort
The Control Tower
Photographs taken By Steve Groves in March 2016
Page 1 of 3
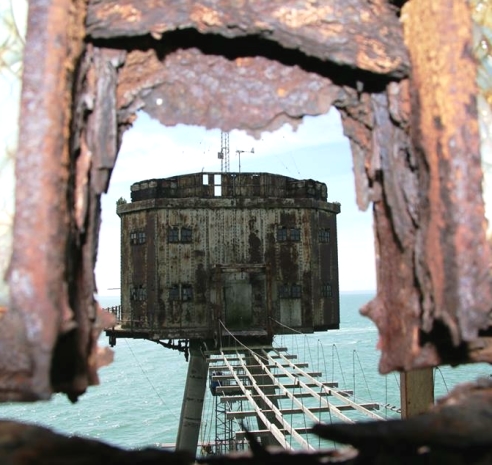
| 1.
G1 from Officers Sleeping |
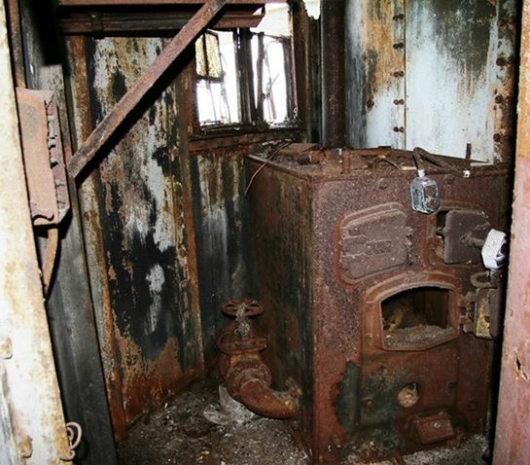
2.
Solid fuel Burner for Central Heating |
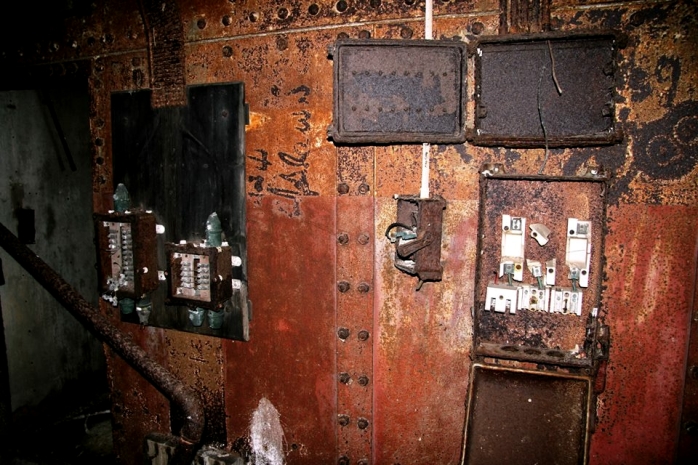
3. Electrical Consumer Unit & Fuse Box, circa 1943
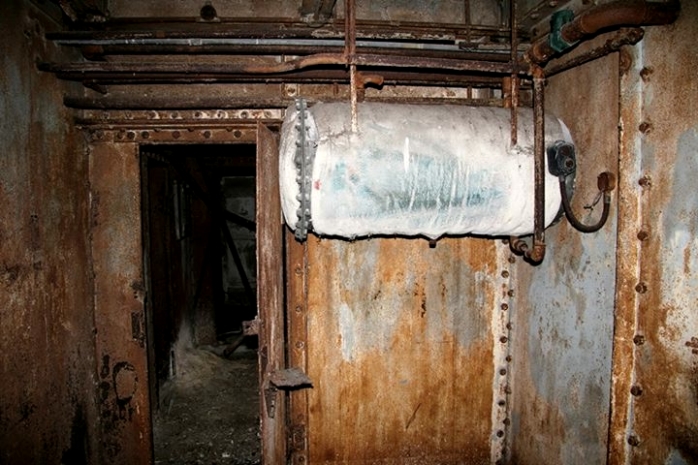
4. Insulated Water Tank
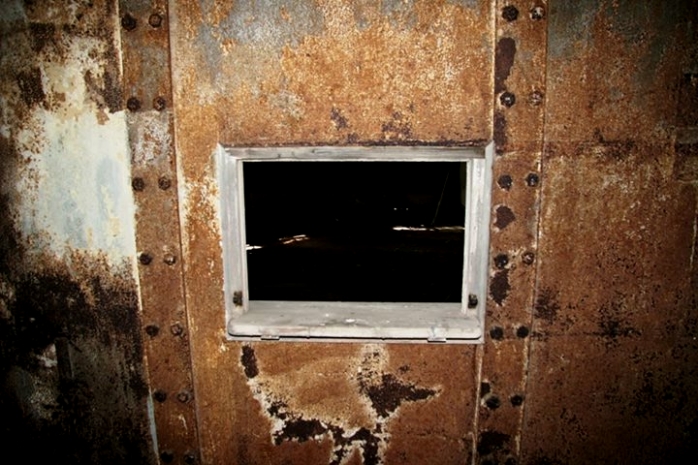
5. Servery Hatch from Officer Mess to Officers Kitchen
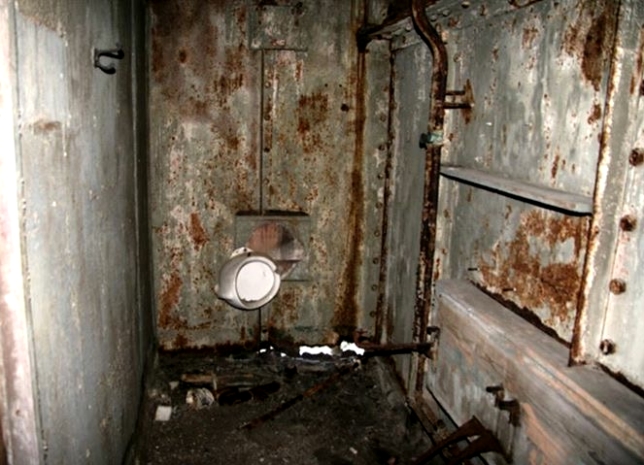
6. Toilet Cubicle 1
Note: 1960's modified toilet

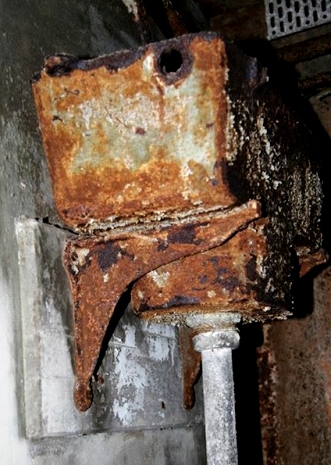
7. & 8. Toilet cubicles 2 & 3
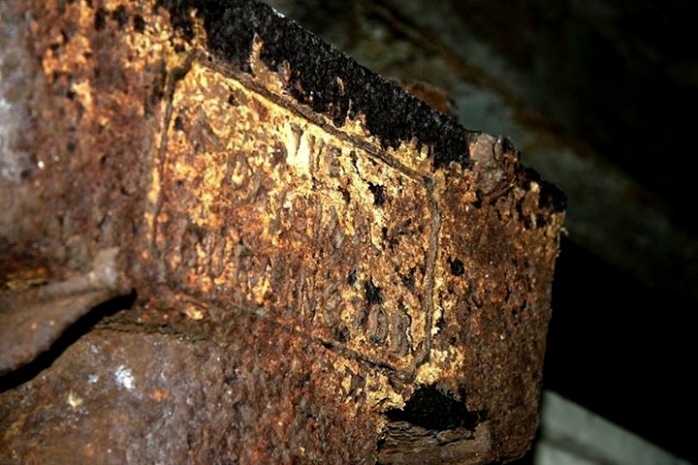
9. 'Burlington' Cistern Close-Up 1
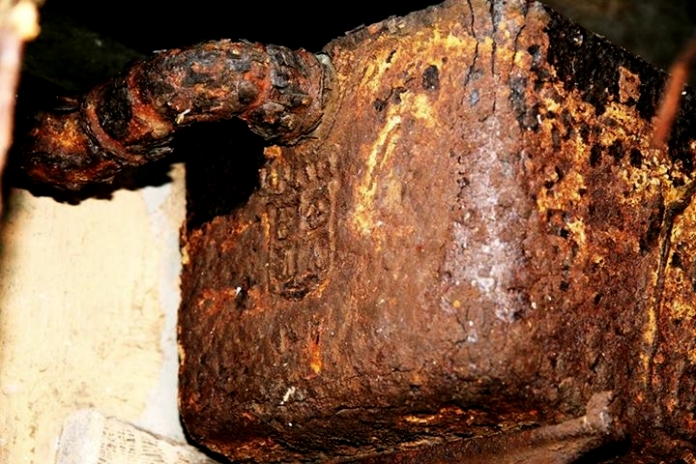
10. 'Burlington' advanced rust
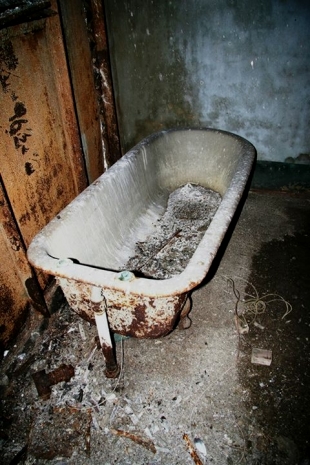
| 11.
Toilet cubicle 4 |
12.
Bath |
Note: There are 4 Toilet cubicles & two Bathrooms on the Control Tower
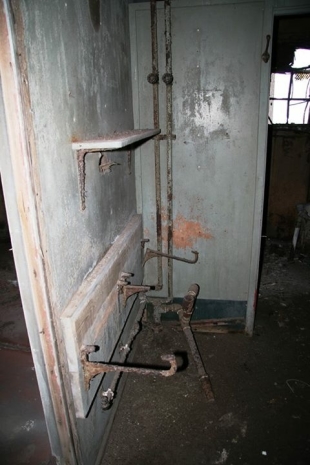

| 13.
Wash Basin Brackets |
14.
Bath Wash Room Area |
Note: Wash basins in two places, a pair outside cubicles center, for at back N.E corner
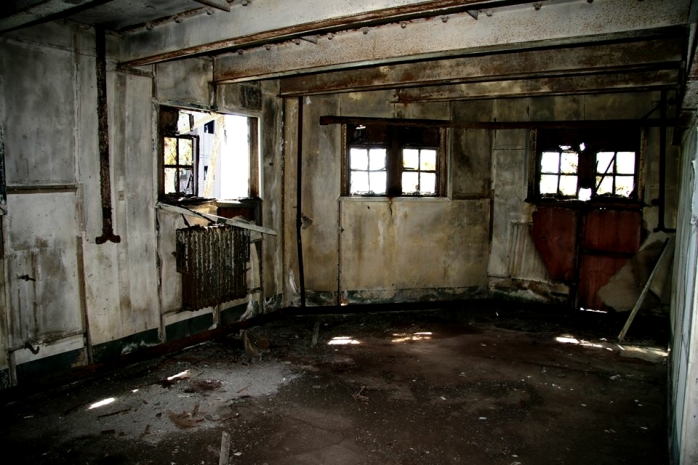
15. Officers Sleeping Area
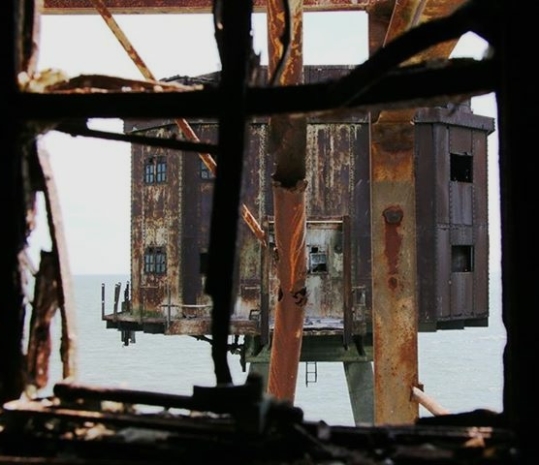
16. Officers Sleeping towards G2
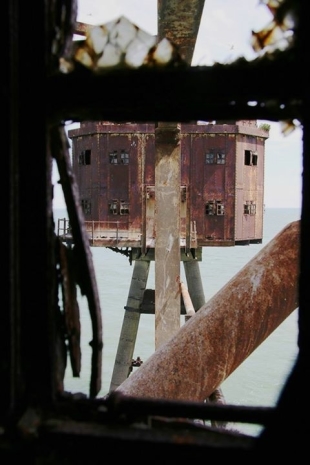
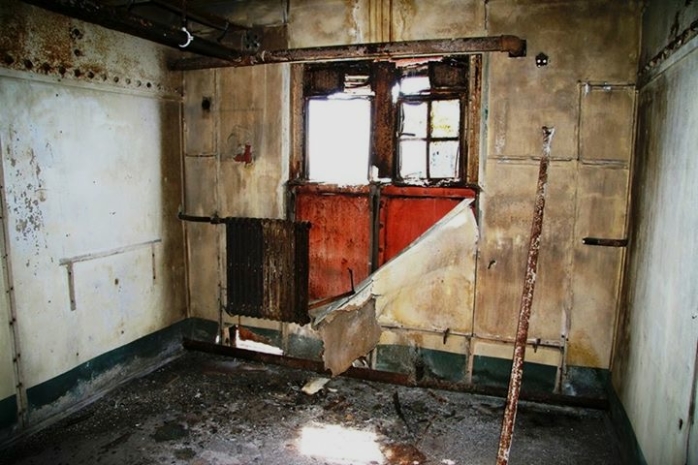
| 17.
Officers Sleeping towards G3 |
18.
Officers Mess |
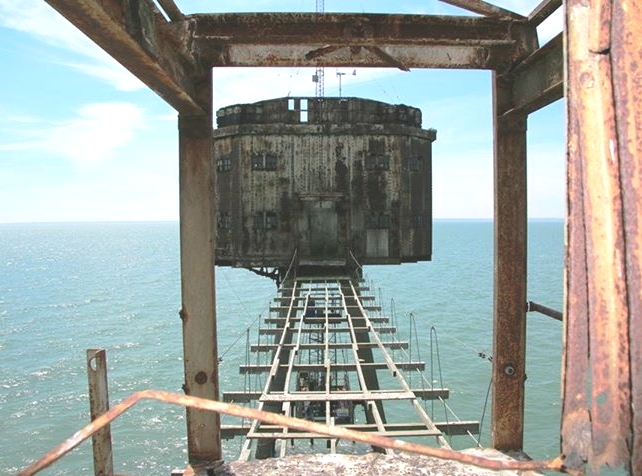
19. G1 from Officers Sleeping Area
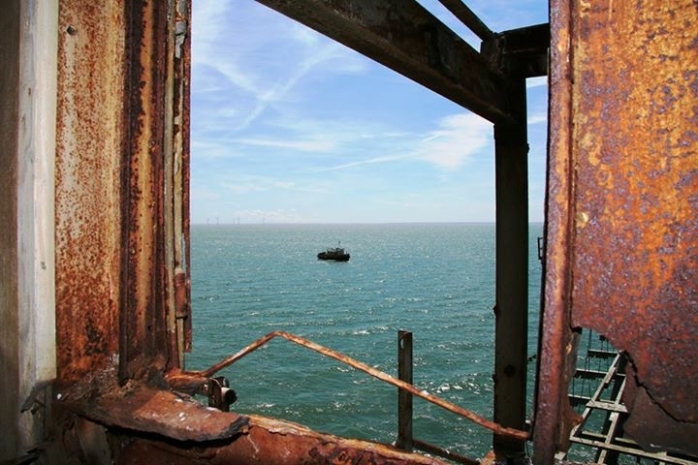
20. View from Officers Sleeping Area
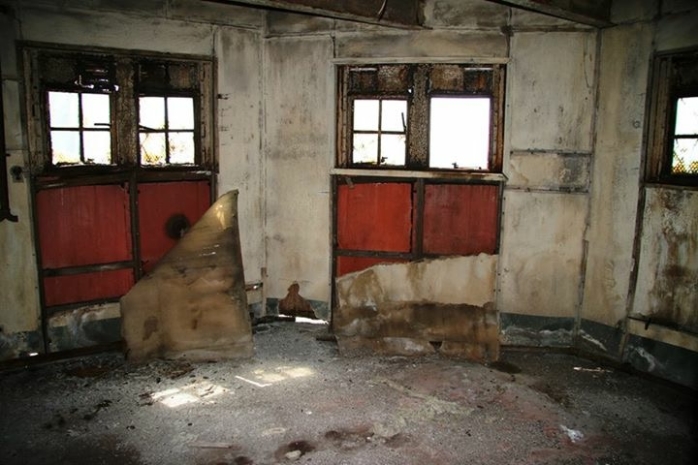
21. Officers Sleeping Area

22. Officers Sleeping Area Doorway
Note: Inner steel walls were battened over then lined with low grade painted fibre board
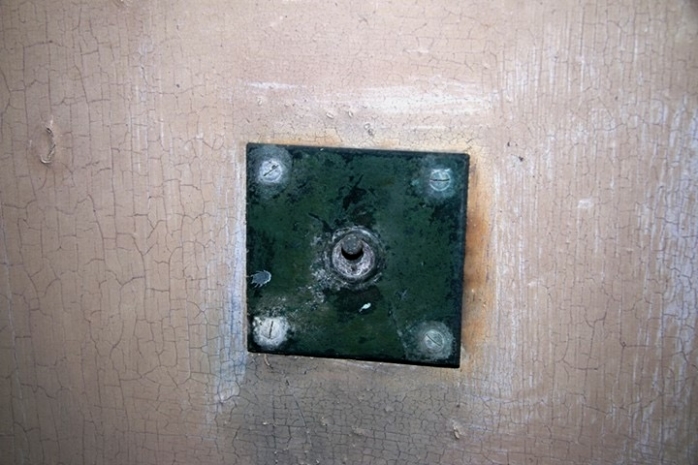
23. Officers Sleeping light switch
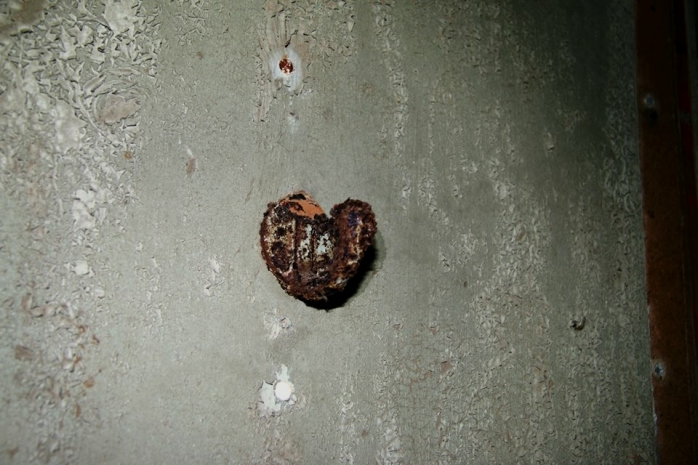
24. Officers Sleeping, rusty nail head or love heart?

25. Officers Sleeping Area, coat hook
There are two separate generous Officers Sleeping Areas with just two beds in each!
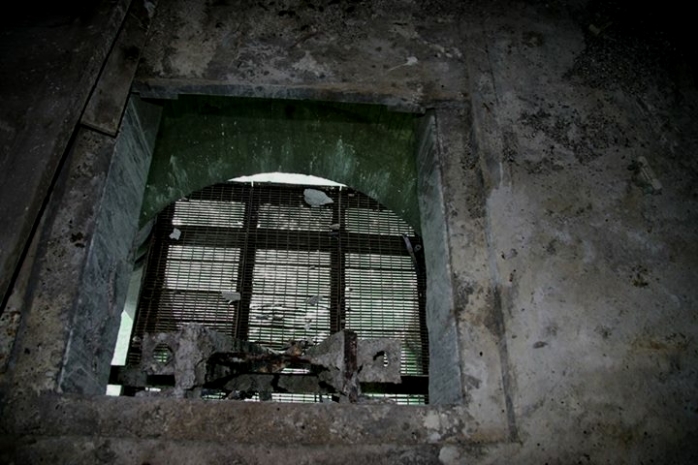
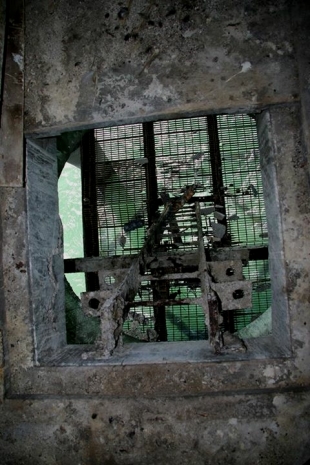
| 26.
Personnel Access with staging below |
27.
Personnel Access Ladder |
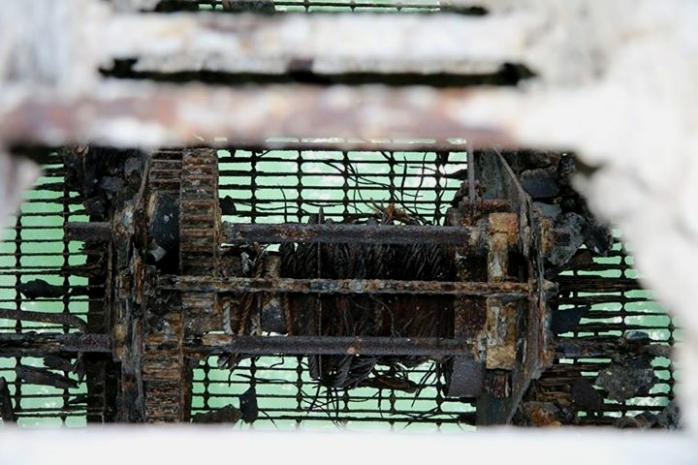
28. Platform Winch
Note: The mid-section with winch collapsed into the sea a week later on a subsequent work party visit
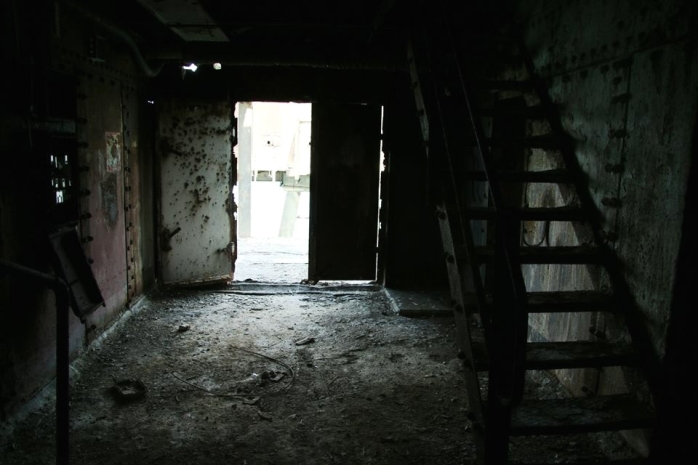
29. Walkway Access Doors to G3 Catwalk
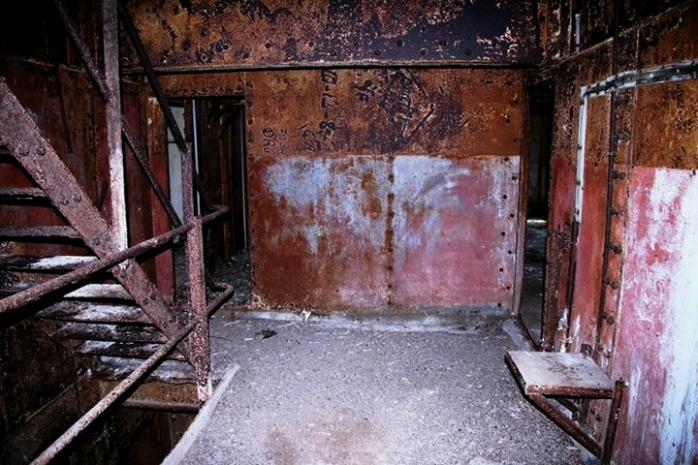
30. From Access Doors to Intermediate Level Stairs